Top A

Lorem ipsum dolor sit amet, consectetur adipisicing elit, sed do eiusmod tempor.

Icon Shipping

Shipping Icons
Shipping Icons

Icons E-Commerce

E-Commerce Icons
E-Commerce Icons

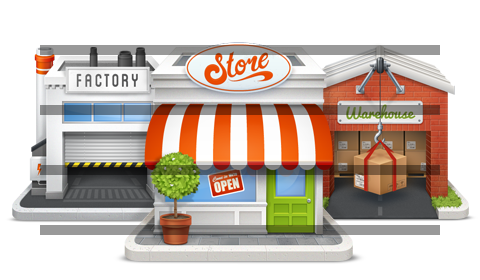
Icons Buildings

Building Icons
Building Icons

Icons Hosting

Hosting Icons
Hosting Icons

Features Uikit

Get UIkit

Built with UIkit

UIkit is a lightweight and modular front-end framework for developing fast and powerful web interfaces. It comes with a wide range of reusable and combinable components. All UIkit classes are namespaced, so they won't interfere with other frameworks and extensions you might be using. Here's an overview of the different UIkit components, which you can easily modify using the customizer.

Visit Website

Top B

Lorem ipsum dolor sit amet, consectetur adipisicing elit, sed do eiusmod tempor.

Home Preppy Polo Shirt

Preppy Polo Shirt

Blue, Cotton, Striped

Demo

Read More

Home Vintage Minidress

Vintage Minidress

Sleeveless, Bicolor

dress

Read More

Main Top

Lorem ipsum dolor sit amet, consectetur adipisicing elit, sed do eiusmod tempor.

Home Shoes

Shoes

Leather, Blue

Blue Shoes

Read More

Home Cotton Scarf

Cotton Scarf

Accessory, Blue

Blue Scarf

Read More

Spotlight

The Widgetkit Spotlight allows you to add an overlay to your images, which fades or moves in on mouse hover. The overlay can be an image or HTML content. The default magnifier spotlight is a perfect match for the Widgetkit lightbox.

Features

  • Create nicely animated image overlays
  • Supports custom image or HTML content overlays
  • 5 different animation modes
  • Responsive design to fit all device resolutions
  • Built with the latest jQuery version
  • Works with Joomla and WordPress

Examples

If no custom overlay is set, the default spotlight fades in an overlay with a magnifier image. If you define a custom overlay, you can choose between different animations – fade, bottom, top, right and left.

How To Use

Use the HTML5 custom data attribute data-spotlight to activate the spotlight.

<a data-spotlight="on" href="/mypage.html">
    <img src="/image.jpg" width="180" height="120" alt="" />
</a>

To create a custom overlay, use a div element with the CSS class overlay. You can set the effect parameter to the data attribute. For example:

<a data-spotlight="effect:bottom;" href="/mypage.html">
    <img src="/image.jpg" width="180" height="120" alt="" />
    <div class="overlay">Custom Overlay</div>
</a>

You can set the effect parameter to fade, bottom, top, right and left.

Main Bottom

Lorem ipsum dolor sit amet, consectetur adipisicing elit, sed do eiusmod tempor incididunt ut labore et dolore.
Error: Only up to 6 widgets are supported in this layout. If you need more add your own layout.

Bottom B

Lorem ipsum dolor sit amet, consectetur adipisicing elit, sed do eiusmod tempor.